
Designing and building your own DIY desk is a rewarding project that allows you to create a functional, personalized workspace tailored to your needs and style. Whether you need a sleek desk for your home office, a creative study space for your kids, or a multi-purpose desk for a small apartment, building a custom desk from scratch is a great way to combine creativity with practicality.
In this guide, we’ll walk you through the entire process—from brainstorming your desk design to gathering materials and constructing the final product. Let’s dive in and transform your vision into reality!
1. Planning Your Desk: Define Your Needs
Before you even pick up a saw or hammer, take some time to think about your specific needs. A desk for a kid’s room will be different from one intended for a professional office. Here are some factors to consider when designing your desk:
- Functionality: Will this be a work desk, a study desk, or an art station? Determine how you’ll use it and what features are essential (e.g., storage space, built-in shelves, cable management).
- Size: Measure the available space to ensure the desk fits. Consider how much surface area you’ll need for your computer, writing materials, or other work items.
- Style: Decide on the aesthetic—do you want a minimalist desk, a rustic wood desk, or something more modern with metal accents? Choose materials and colors that fit the room’s overall design.
- Storage Needs: Will your desk need drawers, shelves, or cubbies for organizing supplies? Think about how much storage you need to avoid clutter.
2. Design Your Desk: Sketch It Out
Once you have a clear idea of your needs, start sketching the design. You don’t need to be a professional designer to create an effective plan—just a rough sketch will help you visualize the layout. Here are some design elements to consider:
- Legs: Decide whether you want traditional legs, a sturdy frame, or something more unconventional, like hairpin legs or sawhorse-style supports.
- Surface: Consider the thickness and material of the desk surface. A solid wood surface is durable, while plywood can be a budget-friendly option.
- Storage Features: If your design includes drawers or shelves, think about how you will integrate them into the overall structure.
- Finishing Touches: Will you add a built-in charging station, a cable management tray, or a built-in lamp?
Sketching out your ideas will help you clarify the design and estimate the materials needed.
3. Gather Your Materials and Tools
Now that you have your design, it’s time to gather materials and tools. Here’s a basic list of what you’ll need for a simple desk build:
Materials:
- Wood (plywood, MDF, or hardwood) for the surface and supports
- Screws, nails, or wood glue (depending on the joinery method)
- Sandpaper or a power sander
- Paint, stain, or a clear wood finish
- Optional: drawer hardware, metal brackets, or wood supports for shelving
Tools:
- Saw (table saw, circular saw, or handsaw)
- Drill and drill bits
- Screwdriver
- Measuring tape and square
- Level (to ensure everything is even)
- Sandpaper (or electric sander)
Make sure you measure everything twice and double-check your design before you begin cutting!
4. Building the Desk: Step-by-Step Instructions

Step 1: Cut the Pieces
Using your saw, cut the wood pieces according to your measurements. You’ll typically need:
- A top surface (your main desk area)
- Two side panels (for support)
- Two or four legs (depending on your design)
- Any additional storage components (like shelves or drawers)
Tip: If you don’t have a saw, many hardware stores will cut wood for you, often for a small fee.
Step 2: Assemble the Frame
Start by assembling the frame of the desk. This could involve attaching the legs to the main surface or assembling side supports and adding the surface on top. Use screws and wood glue for extra strength. If your design includes drawers or shelves, attach them at this stage as well.
Tip: Make sure the frame is square. Use a carpenter’s square to check the angles to ensure everything aligns perfectly.
Step 3: Attach the Desk Surface
Once the frame is assembled, attach the desk surface (the top piece of wood). If you’re using wood screws, countersink the holes so that the screws sit below the surface and are not visible.
Step 4: Add the Storage Components (Optional)
If your design includes additional storage, such as drawers or shelves, now’s the time to install them. For drawers, you’ll need to install sliding hardware. For shelves, consider adding brackets or supports.
Step 5: Finish the Desk
Once the main structure is in place, it’s time to smooth out rough edges with sandpaper or an electric sander. Sand all surfaces to ensure a smooth finish, paying special attention to the edges.
If you’re painting or staining your desk, apply a coat of your chosen finish and allow it to dry before adding any additional layers. A clear wood finish or a light stain can help enhance the wood’s natural beauty.
5. Final Touches: Personalize Your Desk

Now that your desk is built, it’s time to add some personality! Here are some ideas for customizing your new desk:
- Paint or Stain: Choose a color that matches the room’s theme or leave the wood natural for a rustic feel.
- Add Organization: Add drawer dividers, a pencil holder, or desk organizers to keep everything in its place.
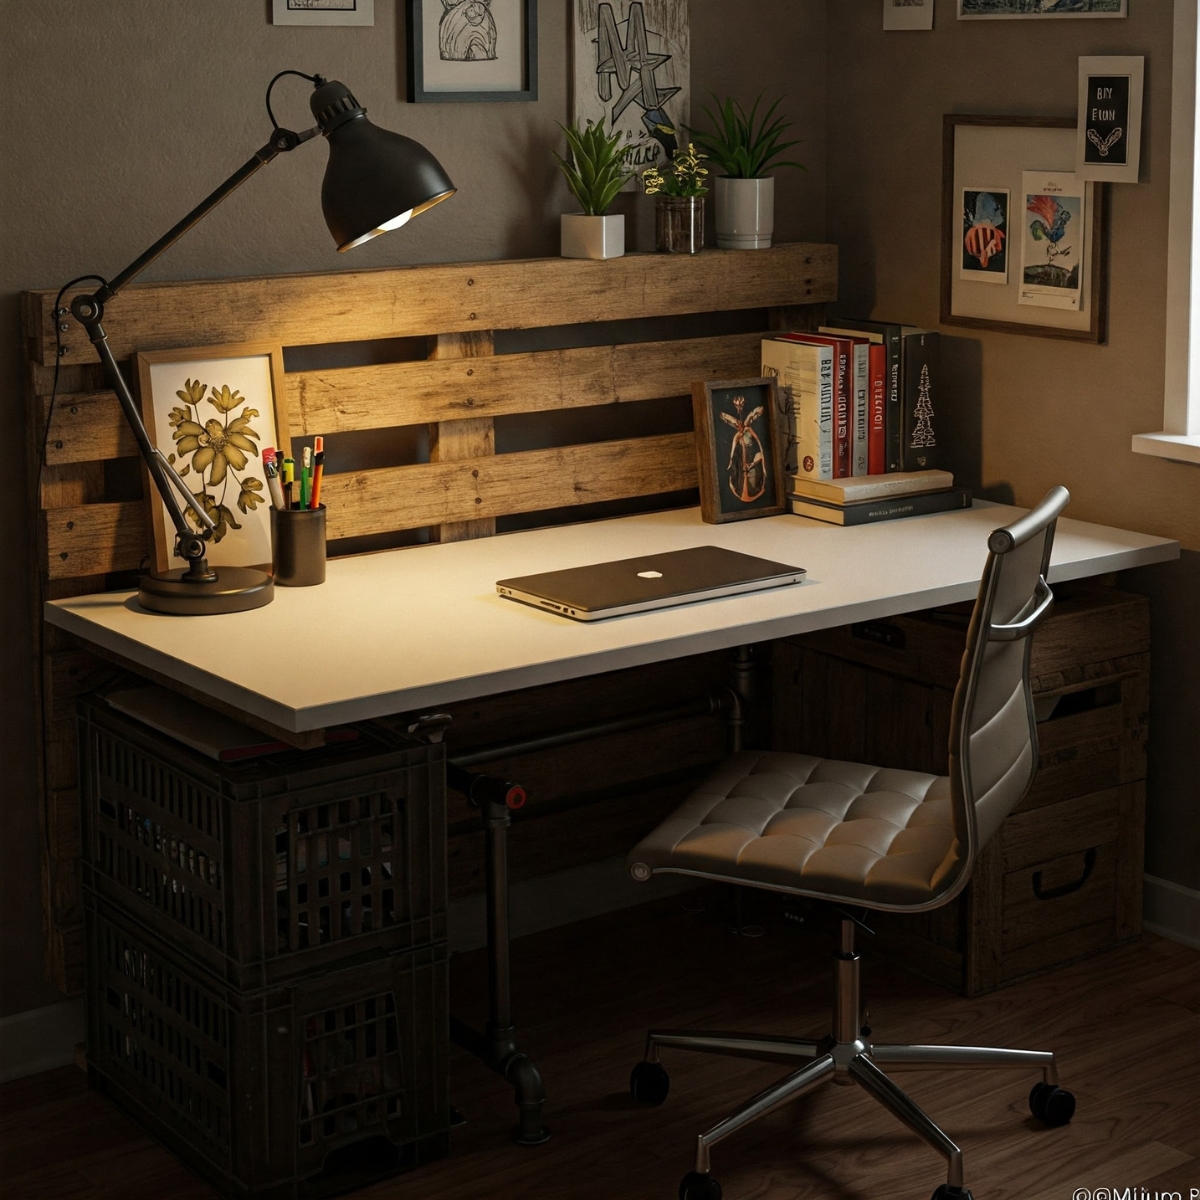
- Decorative Elements: Add plants, photos, or artwork around the desk to make it feel more personal and inviting.
6. Maintaining Your DIY Desk
Once your desk is complete and in use, it’s important to take care of it to ensure it lasts for years to come. Clean it regularly, and touch up any paint or finishes as needed. If you used wood, consider reapplying a protective finish every couple of years to prevent wear and tear.
Conclusion: Enjoy Your Custom Desk
Building your own desk from scratch is a highly satisfying project that allows you to create a workspace that’s uniquely yours. Whether you’re working on a DIY desk for a home office, a study nook, or even a kid’s creative station, following these steps from concept to creation will help you design a functional, stylish, and personalized desk. If you’re looking for inspiration or need a pre-made piece to complement your project, consider the Elsy Contemporary Two-Tone Desk by Naomi Home, which offers a sleek design with a modern aesthetic. For those with a larger space or an office setup, the Ariel Executive L-Shaped Desk by Naomi Home provides ample workspace and storage while maintaining a stylish look. The process of creating your own desk not only adds value to your space but also teaches valuable DIY skills along the way.
So, gather your materials, roll up your sleeves, and enjoy the process of crafting your very own custom desk—one that’s sure to inspire creativity, productivity, and comfort for years to come. Happy building!