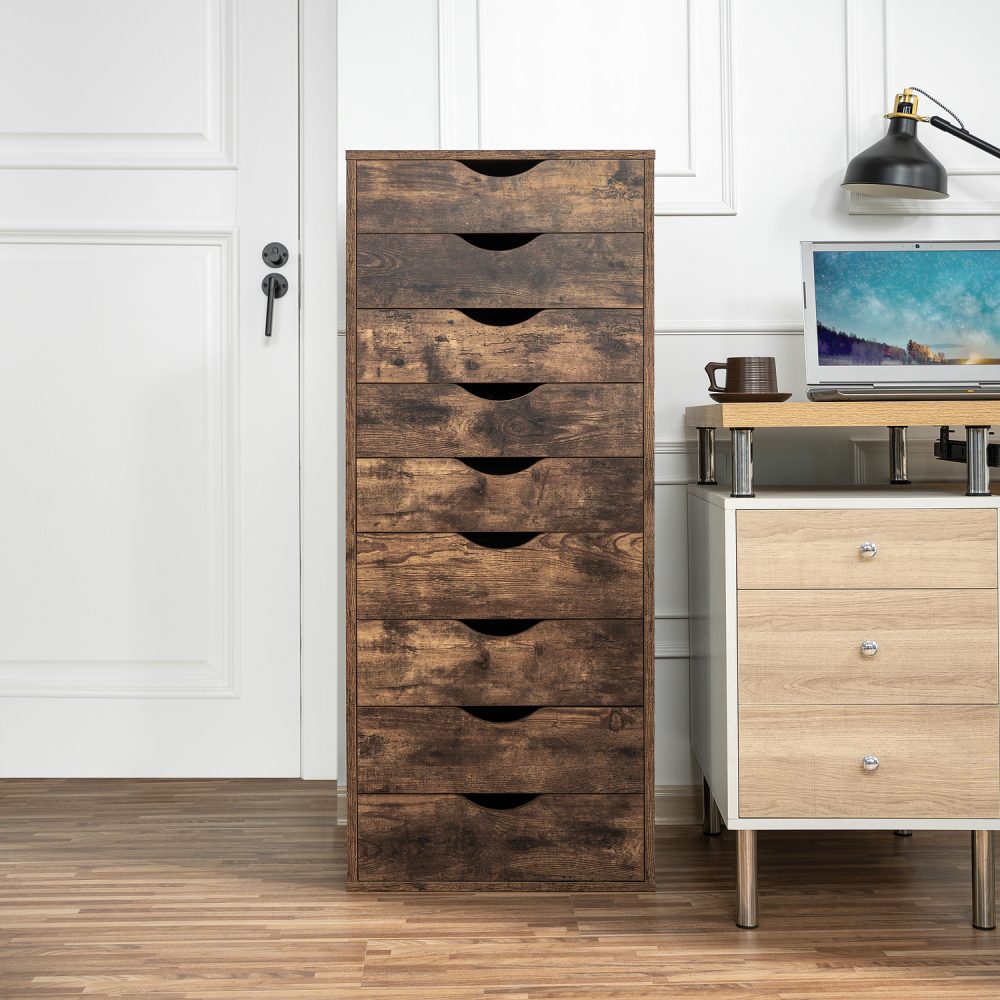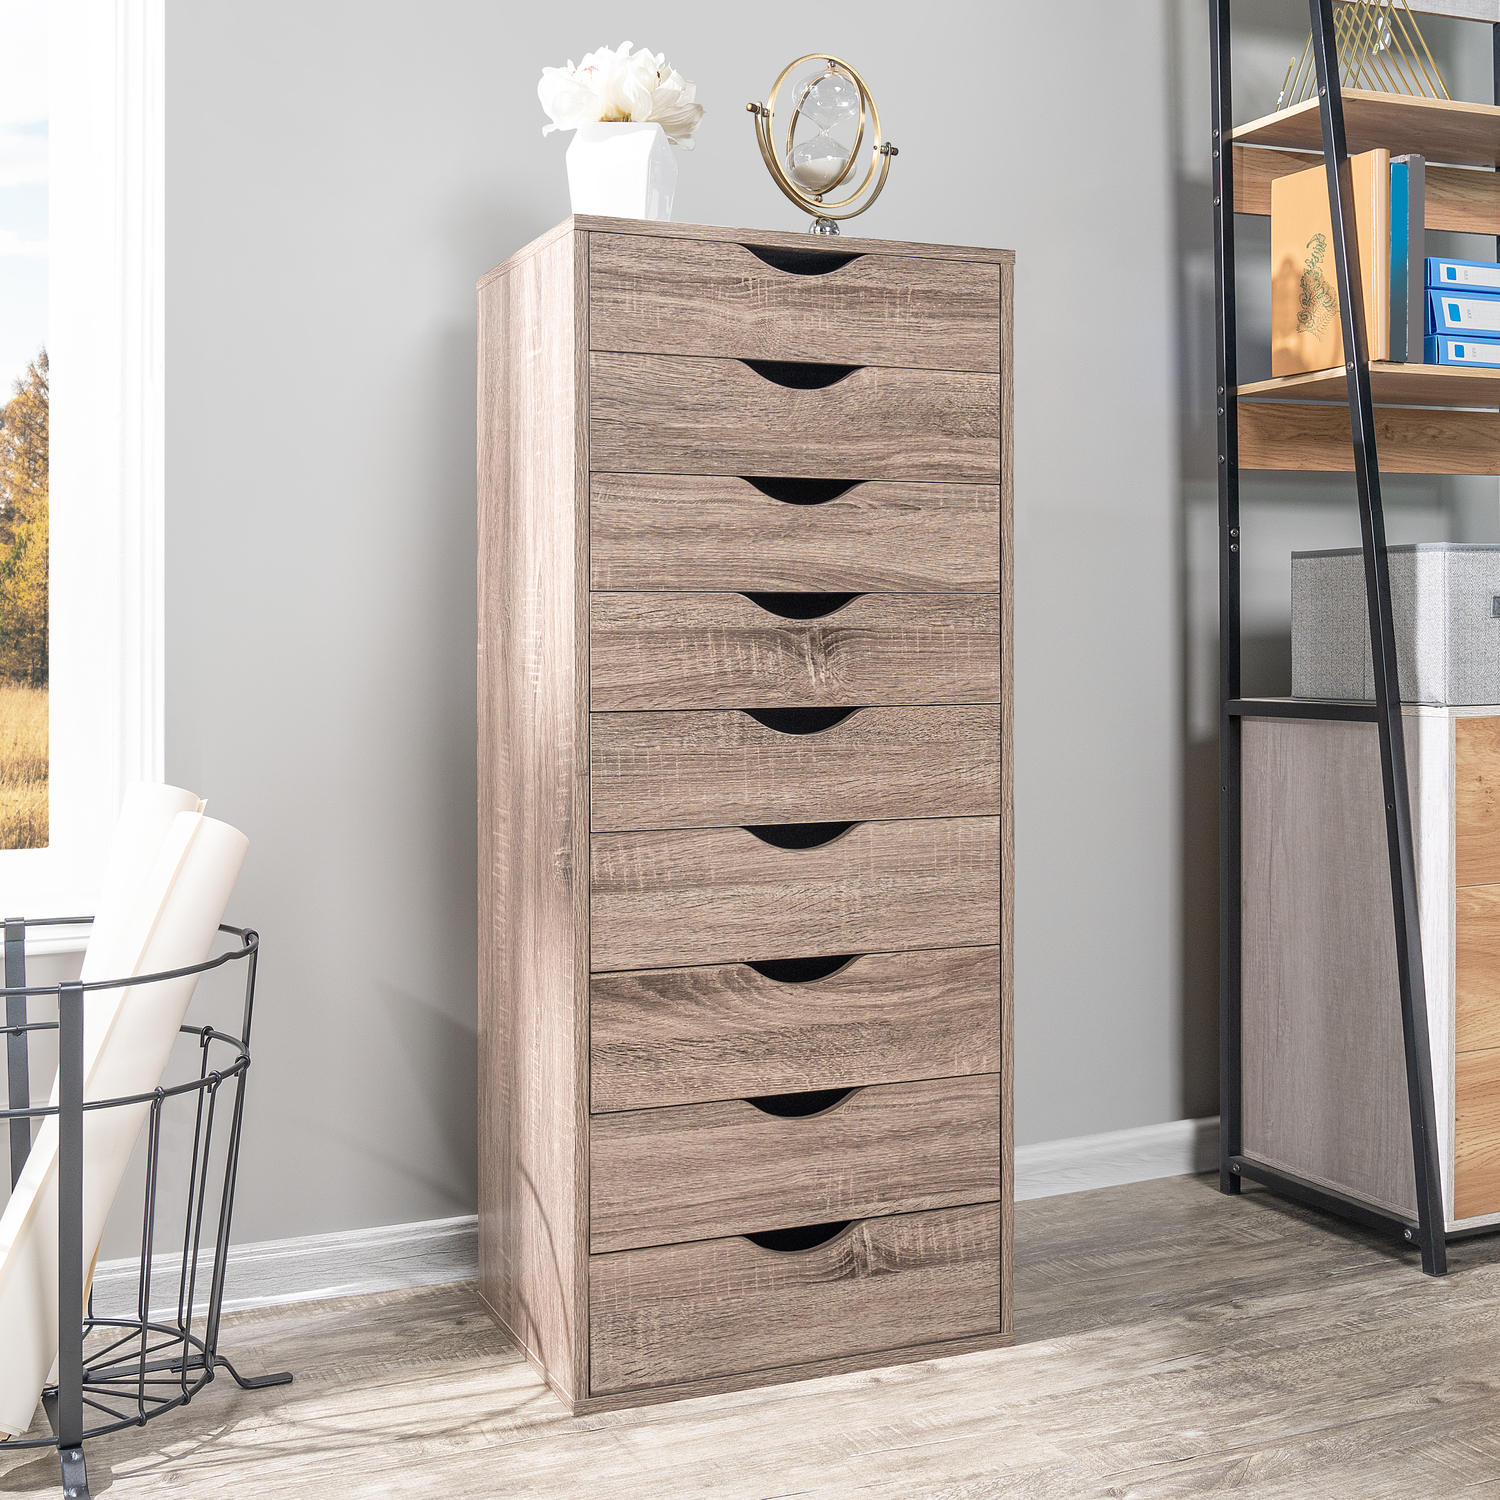
Storage cabinets are the unsung heroes of every home. Whether it’s your garage, bathroom, backyard, or kitchen, there’s always a need for a little extra space to tuck things away neatly. But here’s the catch—store-bought cabinets can be expensive, limited in size, and often don’t match your exact needs. That’s why learning how to build a storage cabinet can be a game-changer. In this guide, we’ll walk through everything: from building a basic indoor cabinet to specialized ones for outdoor use, bathrooms, and small spaces. By the end, you’ll have a complete understanding of the process and the confidence to start your own project.
Tools and Materials You’ll Need
Before diving into cuts and assembly, it’s crucial to have the right tools and materials on hand. This prevents frustrating mid-project trips to the hardware store.
Essential Tools for Building Cabinets
- Tape measure & carpenter’s square (accuracy is everything)
- Circular saw or table saw (for cutting panels)
- Drill with drill bits
- Clamps (to hold pieces together)
- Hammer or nail gun
- Sandpaper or electric sander (for smooth finishes)
- Screwdriver set (manual or electric)
Recommended Materials
- Plywood or MDF – Strong, affordable, and beginner-friendly
- Hardwood – Ideal for visible doors or trims
- Screws, nails, and wood glue – For sturdy assembly
- Hinges, handles, and knobs – For functionality and style
- Paint, primer, or wood stain – For finishing and protection
💡 Pro Tip: Always work in a well-ventilated space, wear safety glasses, gloves, and a dust mask for protection.
Step-by-Step Guide: How to Build a Basic Storage Cabinet
This is the starter project every DIYer should begin with. Once you master this process, you can adapt it for outdoor, bathroom, or small cabinets.
Step 1: Plan Dimensions & Design
- Measure the available space (garage → tall/wide, bathroom → compact).
- Sketch your design or use free online cabinet design tools.
- Decide the number of shelves and doors.
Step 2: Cut Wood Pieces to Size
- Two side panels, one top, one bottom, one back panel.
- Optional: extra shelves.
- ⚠️ Accuracy is key—¼-inch mistakes can cause misalignment.
Step 3: Assemble the Frame
- Attach top & bottom panels between side panels.
- Secure the back panel.
- Use clamps to keep everything square.
Step 4: Add Shelves & Doors
- Mark and fix shelves (adjustable or permanent).
- Install doors with hinges, aligning evenly.
Step 5: Sand & Finish
- Smooth all surfaces with sandpaper.
- Paint, stain, or seal based on your style preference.
🎉 Congratulations—you’ve built a custom storage cabinet!
Building an Outdoor Storage Cabinet:
Outdoor cabinets must withstand rain, sunlight, and pests. Here’s how to build one that lasts.
Best Materials for Outdoor Cabinets
- Treated plywood or marine-grade plywood – Moisture-resistant
- Cedar or redwood – Naturally rot- and insect-resistant
- Stainless steel or galvanized hardware – Prevents rust
Design for Durability
- Add a sloped waterproof roof.
- Raise the cabinet off the ground.
- Include ventilation holes.
Construction Process
- Build the frame with treated wood.
- Seal joints with exterior wood glue & screws.
- Install waterproof doors with rubber seals.
- Apply outdoor wood sealer or waterproof paint.
This ensures your DIY outdoor storage cabinet lasts through every season.
How to Build a Bathroom Storage Cabinet ?
Bathrooms require cabinets that can handle humidity and moisture.
Moisture-Resistant Materials
- PVC board – 100% waterproof
- Plywood with waterproof laminate – Budget-friendly
- Moisture-resistant MDF – Avoid standard MDF
Design Ideas
- Wall-mounted cabinets – Great for small bathrooms
- Floor-standing cabinets – Provide more storage
- Add mirrored doors or open shelving for towels
Quick Build Steps
- Measure bathroom wall or floor space.
- Cut panels to size.
- Assemble with screws & waterproof adhesive.
- Add shelves, mirrors, or trims.
- Seal with bathroom-grade paint or waterproof sealant.
This type of cabinet is both functional and stylish, enhancing your bathroom’s appeal.
Ever Tried Building a Small Storage Cabinet ?
Small cabinets are perfect for apartments, offices, or tight spaces.
Best Uses for Small Cabinets
- Cleaning supplies
- Craft or office tools
- Toiletries
- Bedside or entryway organizers
Space-Saving Designs
- Tall narrow cabinets
- Floating wall cabinets
- Modular cube cabinets
- Rolling cabinets with wheels
DIY Steps
- Measure carefully (every inch counts).
- Cut panels from plywood or MDF.
- Assemble with screws and glue.
- Add shelves, drawers, or doors.
💡 Customize with:
- Chalkboard paint doors (for notes)
- Bright colors for decor
- Caster wheels for mobility
FAQs About DIY Storage Cabinets
Q1. What type of wood is best for DIY storage cabinets?
Plywood is the most cost-effective and durable. For outdoor use, marine-grade plywood or cedar works best.
Q2. How much does it cost to build a storage cabinet?
Depending on size and materials, a DIY storage cabinet can cost 30–50% less than buying pre-made cabinets.
Q3. Can beginners build a storage cabinet?
Absolutely! With basic tools and proper measurements, even beginners can successfully build a cabinet.
Q4. How do I waterproof an outdoor cabinet?
Use treated plywood, stainless steel hardware, and waterproof sealants or paints.
Final Thoughts: Build Your Own Storage Cabinet Today
Learning how to build a storage cabinet is one of the most rewarding DIY projects you can take on. Whether it’s for your garage, bathroom, backyard, or a small corner of your home, a custom cabinet ensures better organization, durability, and savings.
👉 Start small, follow this guide, and soon you’ll be creating custom cabinets for every space in your home.

