Introduction
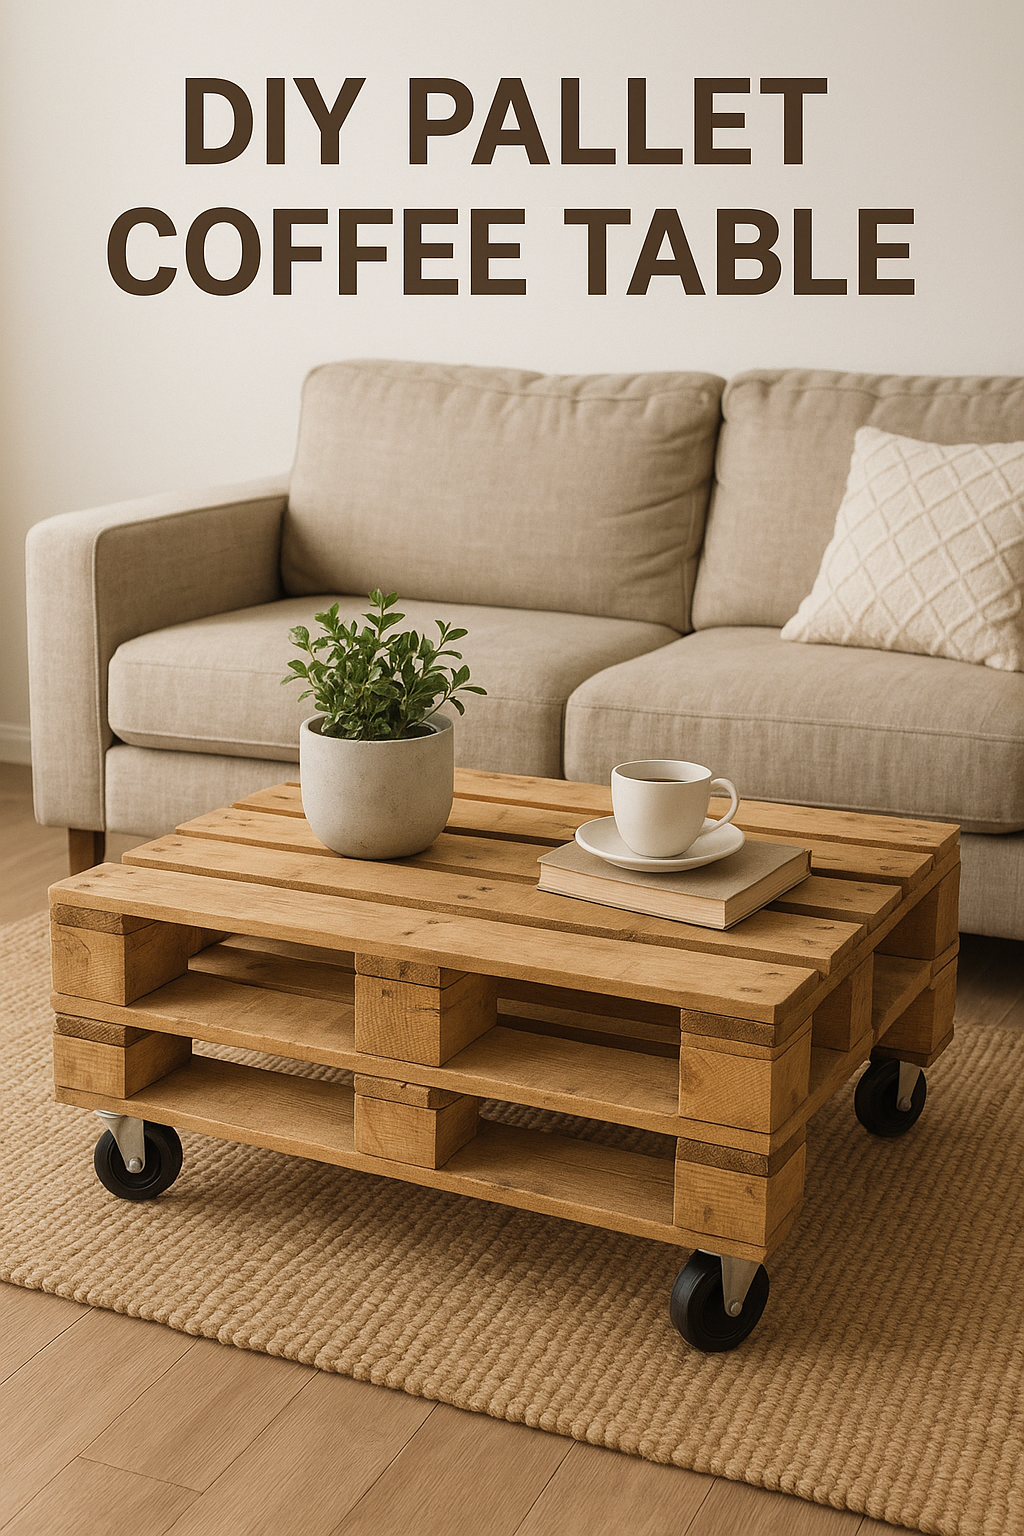
If you’re craving a rustic, trendy, and budget-friendly centerpiece for your living room, look no further than a DIY pallet coffee table. With just a few tools and some creative spark, you can transform old wood pallets into a stunning piece of functional furniture that adds character to your space. Whether you’re new to woodworking or a seasoned DIYer, this guide will walk you through every step to build your own coffee table—without breaking the bank.
Tools and Materials You’ll Need
Before getting started, gather everything you’ll need to ensure the process goes smoothly.
Where to Find Free or Cheap Pallets
- Local warehouses or grocery stores often discard unused pallets.
- Craigslist, Facebook Marketplace, or Freecycle can be treasure troves.
- Always look for pallets stamped with “HT” (heat-treated), not “MB” (methyl bromide).
Essential Tools for the Project
| Tool | Purpose |
|---|---|
| Pry bar or hammer | Disassemble pallets |
| Power sander | Smooth out surfaces |
| Circular saw | Cut pallet slats to size |
| Screws & drill | Assemble pieces securely |
| Wood glue | Reinforce joins |
| Measuring tape & square | Accurate cuts and alignment |
Planning Your Design
Choosing the Right Size and Style
Decide how large you want your table to be. Typical coffee tables are about 18 inches tall and 36–48 inches long. Also, consider whether you want a simple rectangular shape or something more creative like stacked tiers or shelves.
Inspiration from Pinterest and Instagram
Browse platforms like Pinterest or Instagram using tags like #pallettable or #diycoffeetable for aesthetic ideas and variations.
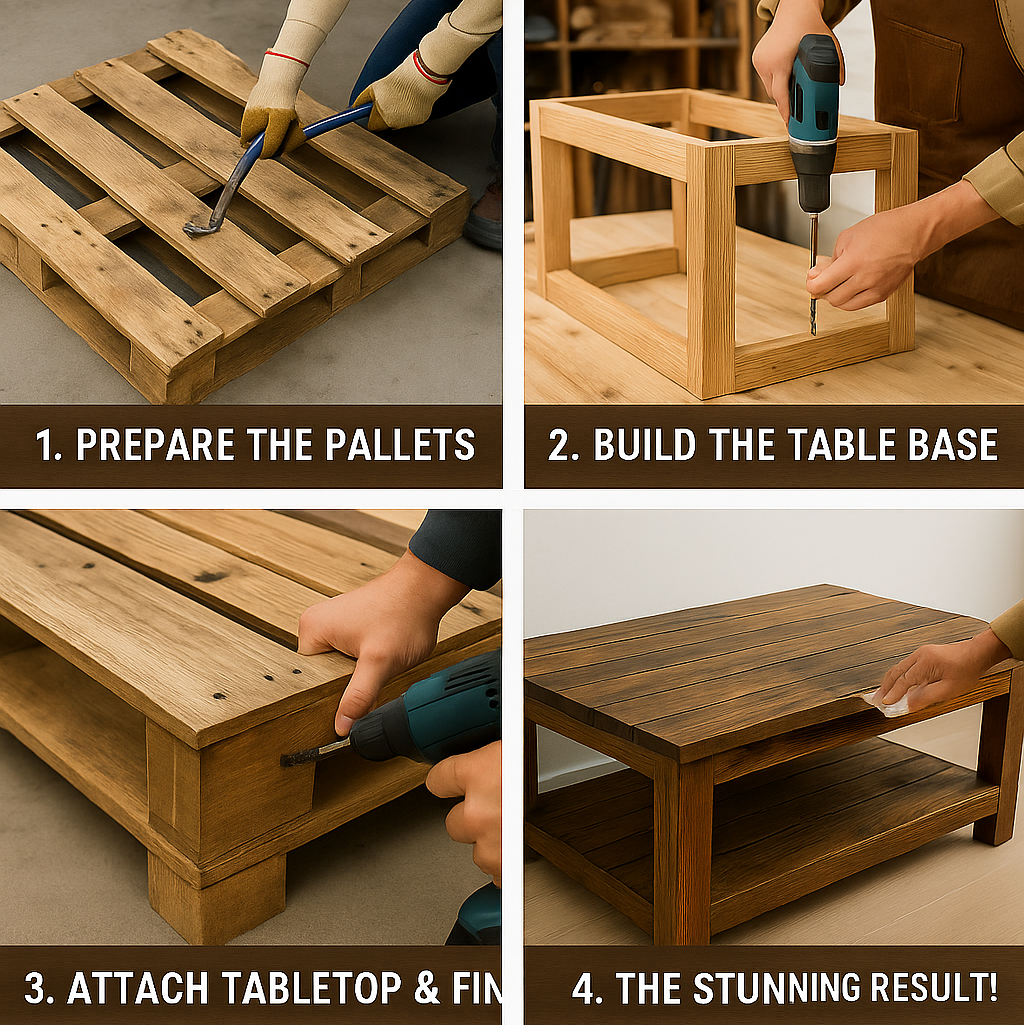
Preparing the Pallets
Cleaning and Disassembling Pallets
- Scrub each pallet with soap and water.
- Let them dry completely in the sun.
- Use a pry bar and hammer to carefully remove slats from the frame.
Sanding for a Smooth Finish
- Use medium-grit sandpaper to remove splinters.
- Switch to fine-grit for a polished finish, especially if you’re not painting.
Building the Table Base
How to Assemble a Solid Frame
- Cut four pieces for the legs and use longer slats to connect them.
- Screw and glue each corner tightly for a durable frame.
Tips to Keep It Sturdy and Level
- Use a level after each step.
- Add a middle support beam if your table is over 3 feet long.
Constructing the Tabletop
Arranging the Pallet Slats Creatively
- Lay slats across the frame until you’re happy with the layout.
- Mix wood tones or alternate directions for a modern look.
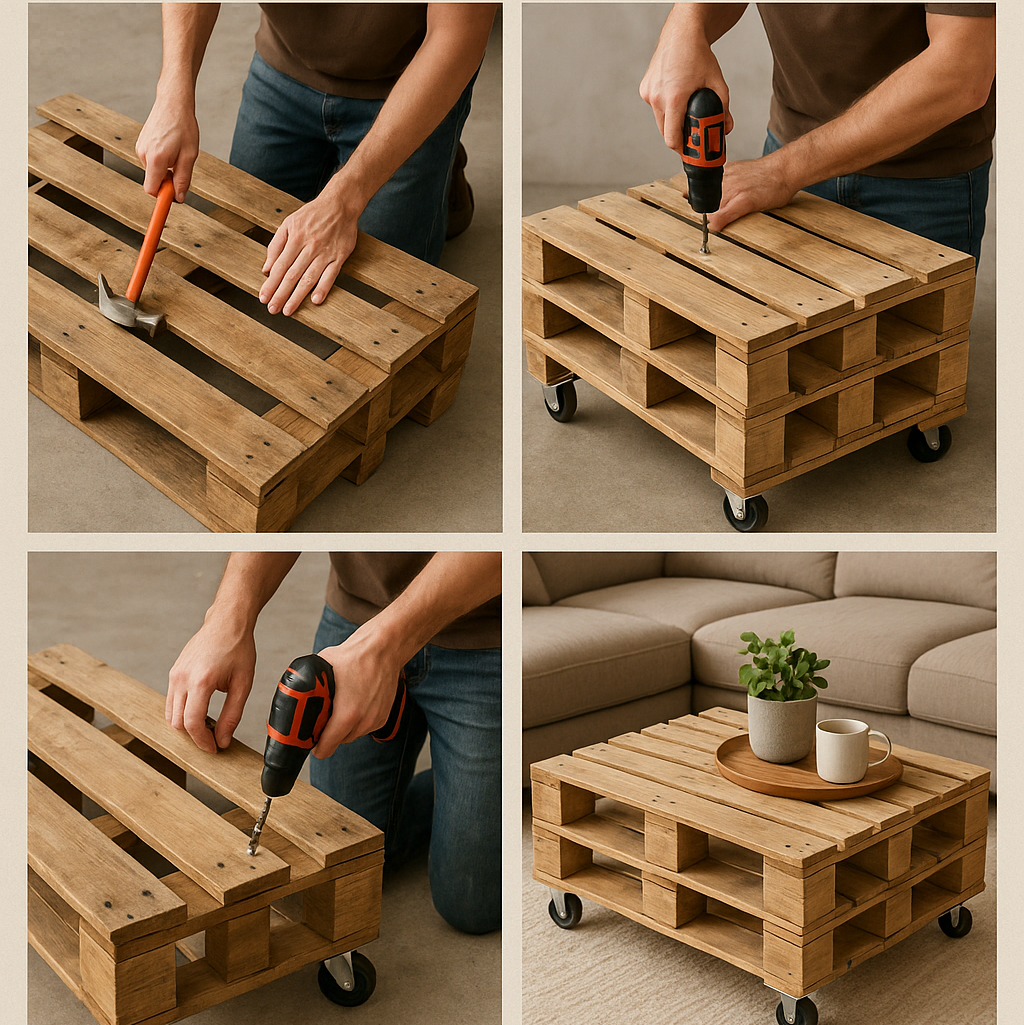
Fastening Slats Securely
- Pre-drill holes to prevent splitting.
- Add a thin bead of wood glue beneath each slat before screwing in place.
Optional Features to Enhance Functionality
Adding Storage Space
- Use a second layer of pallet slats underneath as a built-in shelf for books or magazines.
Adding Casters for Mobility
- Attach locking caster wheels to each leg for easy movement without compromising stability.
Finishing Touches
Staining or Painting
Choose a stain to bring out the natural grain or go bold with chalk paint for a vintage vibe. Apply with a foam brush or cloth for best results.
Sealing for Durability
Use a polyurethane sealer (matte or gloss) to protect against spills and daily wear.
Decorating Your Pallet Coffee Table
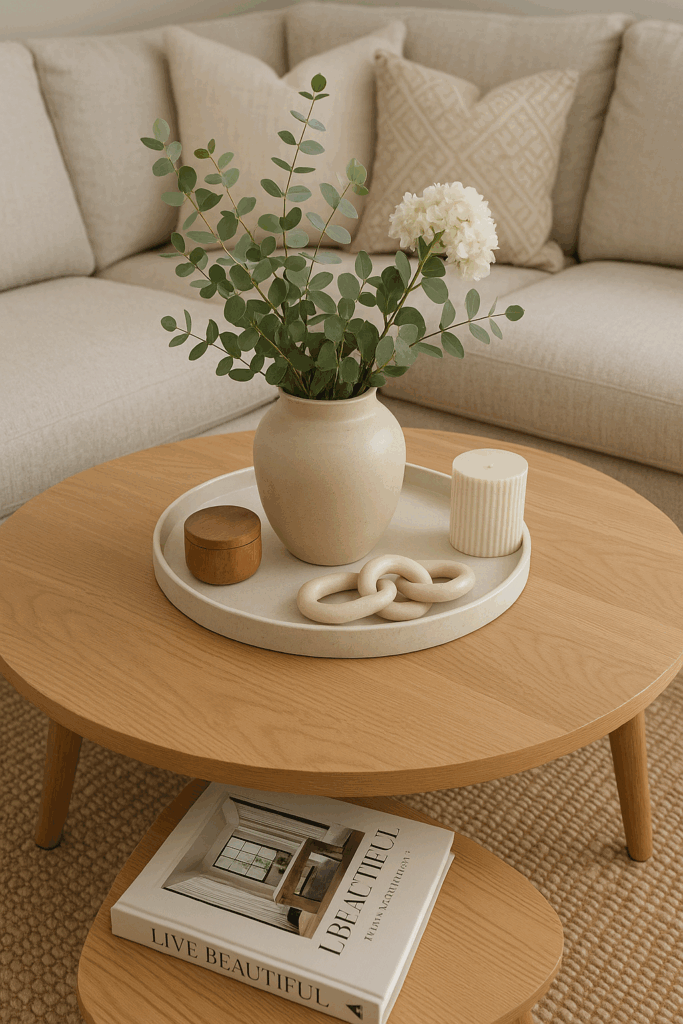
Styling Ideas for Living Rooms
- Add a woven tray with candles.
- Stack coffee table books and a potted plant.
Seasonal Decor Tips
- Swap in autumn leaves or holiday ornaments depending on the time of year.
Budget Breakdown
| Item | Estimated Cost |
|---|---|
| Pallets | Free – $10 |
| Screws, Glue | $5 – $10 |
| Sandpaper/Stain | $10 – $20 |
| Casters (optional) | $8 – $15 |
| Tools (if not already owned) | Varies |
Money-Saving Tips
- Borrow tools from a neighbor or rent from local hardware stores.
- Repurpose leftover wood for other home projects.
Common Mistakes to Avoid
Choosing Bad Pallets
Avoid damaged or chemically treated pallets. Look for solid wood with minimal cracks or stains.
Rushing the Sanding Process
Rushing leaves your table rough and prone to splinters. Take your time to ensure smoothness.
Maintenance Tips for Longevity
Cleaning Your Table Safely
- Wipe spills immediately.
- Use a damp cloth and avoid harsh chemicals.
Protecting the Finish Over Time
- Add coasters or placemats.
- Reapply sealer every couple of years.
Eco-Friendly Benefits of Pallet Projects
Recycling and Sustainability Aspects
- Reduce landfill waste by upcycling wood.
- Lower your carbon footprint with repurposed materials.
FAQs about Building DIY Pallet Coffee Tables
Q1: How long does it take to build a pallet coffee table?
A: Most builds take 4–6 hours, not including drying time for paint or stain.
Q2: Are pallet coffee tables durable?
A: Yes! When properly sealed and assembled, they’re sturdy and long-lasting.
Q3: Can I use indoor pallets for outdoor coffee tables?
A: It’s possible, but outdoor versions need extra sealing and weatherproofing.
Q4: What’s the best stain color for a rustic look?
A: Dark walnut and espresso are popular for that cozy, rustic vibe.
Q5: Do I need power tools for this project?
A: While helpful, many tasks can be done with hand tools if needed.
Q6: How do I avoid nails and splinters in pallet wood?
A: Remove all nails carefully and sand thoroughly with fine grit sandpaper.
Conclusion
Building a stunning DIY pallet coffee table on a budget is not just a smart financial decision—it’s also a deeply rewarding project that adds charm and personality to your home.Whether you’re upcycling to reduce waste or simply aiming to craft something beautiful with your own hands, this coffee table will serve as a conversation starter and a functional focal point in your living space. With just a weekend of effort, you can turn discarded wood into a stylish statement piece you’ll be proud of for years to come.
👉 Looking for more budget-friendly DIY home projects or stylish furniture inspiration? Visit Naomi Home for creative ideas, top-quality furnishings, and exclusive deals to elevate every corner of your home!